Saturday, January 4, 2014

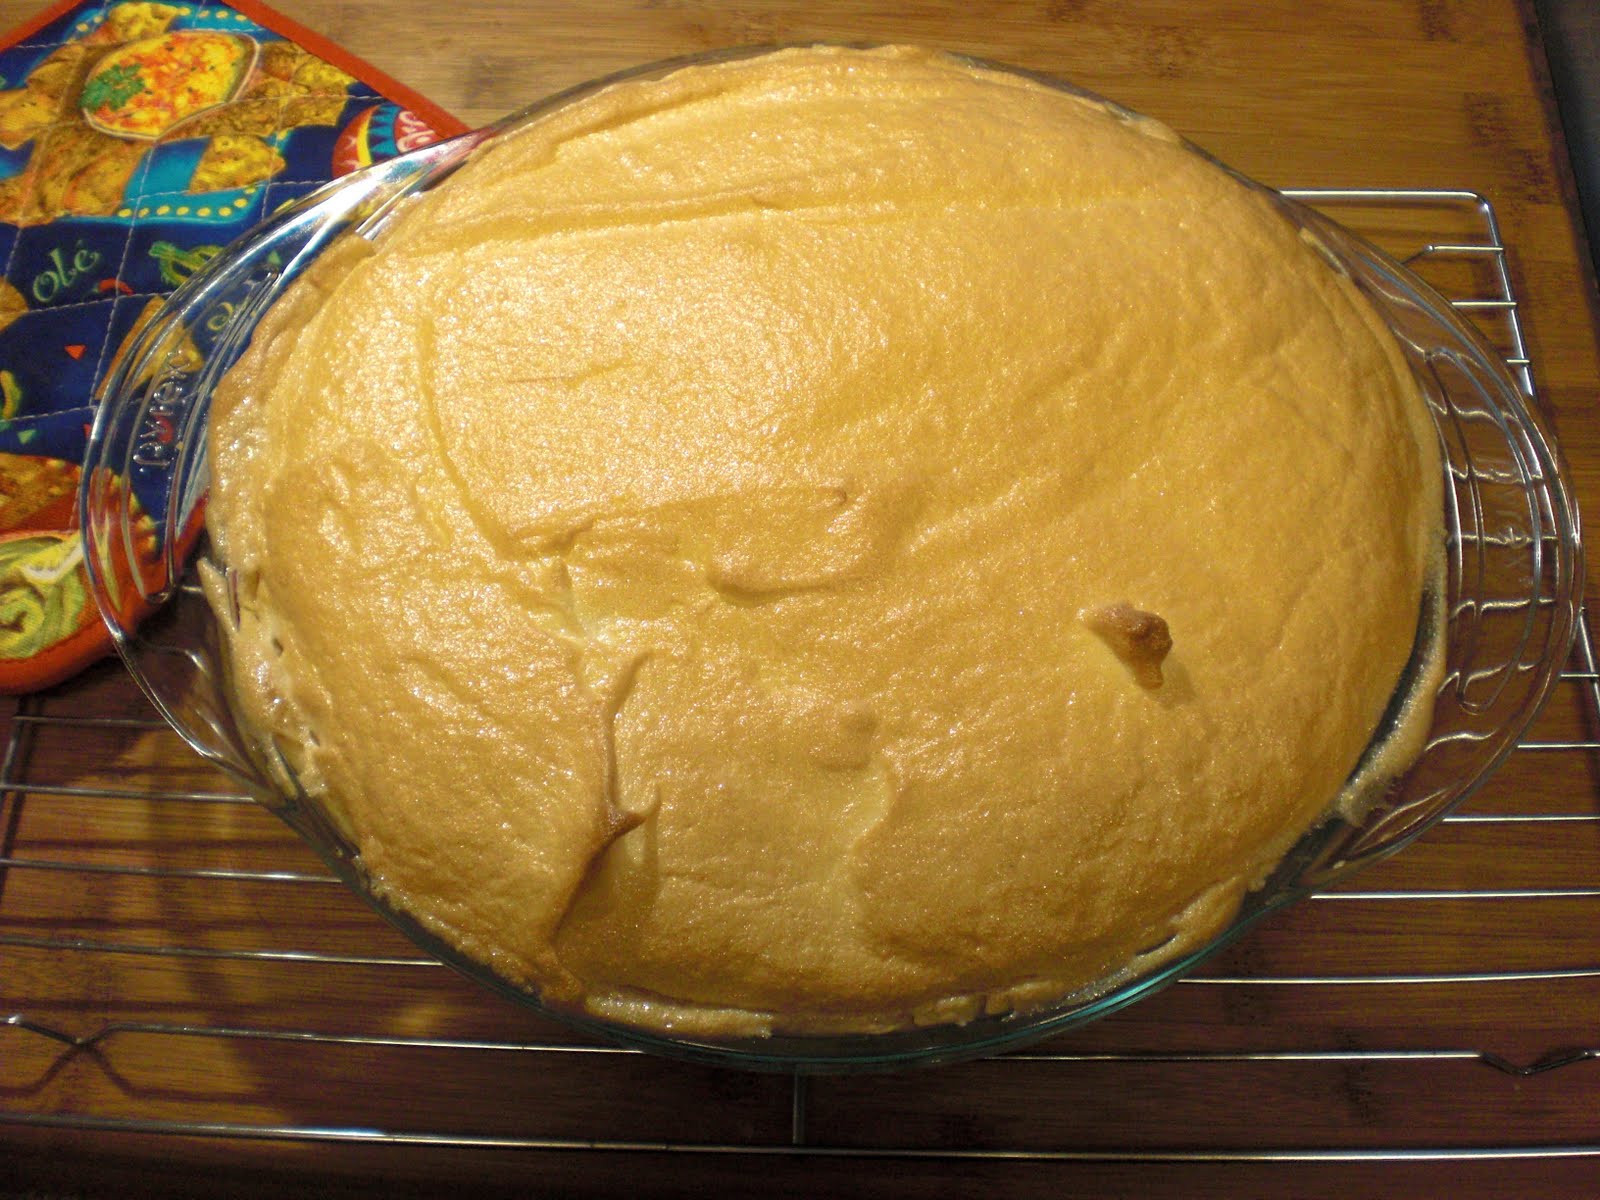
Hank's Gin Fizz

Update!

In a taste test last Christmas at the SwearSwarm, we tasted the original against my OJ alternative and the original was preferred by all!

This recipe came from my father. It was a staple at Sunday Morning Football Parties, New Years Day Parade or pretty much anytime a before noon cocktail is appropriate.

He called it a Gin or Ramos Fizz but I have never seen anything like this in a bartenders recipe book. I include both his original version and my revised recipe.

Hank's Gin Fizz:

In a blender, combine:

1 cup Gin
1/2 cup Half and Half
1/4 cup Lemon Juice
1/4 cup Cocktail Sugar (superfine granulated)
1 Raw Egg
1 cap full Orange Flower Water (No longer available, use 2 cap fulls Orange Blossom Water)

Fill with ice and blend until semi-smooth then serve in flutes.

My current recipe substitutes 1/2 cup Orange Juice for the Lemon Juice and Sugar.

love and bacon,
pops

Sunday, November 24, 2013

Chili Colorado

I originally found this recipe on chili-heads and adapted it to my own taste and methods.

This is a low and slow recipe simmering covered on the stove-top, in the oven or a crock-pot. 2 Hours is minimum.

3-4 dried pasilla or similar mild chili pods
1-2 dried Chili de Arbol or use a jalapeno
2 cups Beef Broth ( I use Pacific in the quart box)

2lbs Stew Meat in bite size pieces ( I cut my own from boneless chuck roast when it goes on sale)
oil
flour
salt
pepper
1/2 Onion chopped
2 cloves garlic chopped

1tsp Cumin
1/2tsp Mexican Oregano

Start by covering the dried chilis in very hot water and soak for 20 minutes.

In the meantime, dredge the beef in flour then salt, pepper and brown in oil. Work in batches so you don't just steam the meat. Set the browned beef aside and saute first the onion and then the garlic, scraping up the fond. return the meat to the pan and add some of the beef broth.

Drain the chilis throwing out the bitter soaking water and puree in a blender with 1 cup beef broth. Now strain the puree into the pot using a rubber spatula to force it thru the mesh. Stir in the cumin and oregano and the rest of the beef broth.

Stir and simmer for 2-4 hrs, longer and lower is better. After a couple of hours taste the sauce and add salt if necessary.

love and bacon,
pops

Monday, November 11, 2013

The Tale of Two Tortellini (Or Was It Tortelloni..?)

Ever since I've known Brett, he's had a food crush on the dish we've come to know as tortellini (tortellini Alfredo, tortellini soup, tortellini with parmesan etc. - the sky's the limit!). Brett's tortellini fixes can come in any cooking style or flavor and it will always hit the spot. As a child, Brett's answer to the classic "what's your favorite food?" question was always "tortellini!" A response that would leave many stunned, and somewhat confused. 

Well, you can only imagine Brett's excitement when we found out that Bologna, a city about 6 hours north of Naples, is actually the home place of all things tortellini (we even saw tortellini shaped chocolate!). Bologna is specifically known for their Tortellini en Brodo (Tortellini in Broth)- a dish we knew we had to try. 

Without much other motivation, we set off on a road trip to Bologna with the one goal of trying authentic tortellini dishes. (On a side note: on the way to Bologna, we stopped in the spectacular town of Orvieto. We wanted to check out their underground tour and cliff face views. I would recommend this side trip to anyone wanting to explore one of Italy's many mountain top towns.)

Back to the story, Brett had two specific restaurants in mind that he wanted to try while in Bologna. One restaurant is in the actual city of Bologna (La Traviata), and the other is half an hour from Bologna in Castelfranco (La Lumira). Although Bologna is known for being the home place of tortellini, the restaurant in Castelfranco is touted as having "the best tortellini" in the area. Of course, we were intrigued and had to try both. 

This is what we learned: tortellini as we know it, is actually (wait for it...) Tortelloni (GASP!!!!). This revelation was shocking to us too- haha. Tortellini, as is classically made in Bologna, are tiny in comparison to the tortellini we know in the U.S.
Brett eating his first Tortellini en Brodo from La Traviata.
Notice the size!

Spinach ricotta tortelloni, exactly what I thought Tortellini would look like.
Also from La Traviata. SO, so good :)

Our experience with the food in La Traviata was delicious! After trying Tortellini en Brodo in both places, Brett decided that although the tortellini from La Traviata was super tasty- that the broth from La Lumira was the best. The broth was somehow more flavorful and heartier- a perfect warming-up wintertime dish.
Brett excited to dig into his final tortellini dish of the weekend.
(I swear these eating events were on two different days, despite Brett's repeat shirt performance...)


I couldn't wait to eat my dish so much
that I forgot all about taking a picture before I messed it up!
This was pumpkin stuffed tortelloni
in a cream and balsamic sauce from La Lumira.
Yum!

All in all, I'm pretty sure we gained a total of 10 pounds between us this weekend (all. the. carbs!!!). BUT- besides a few extra pounds, we gained a far better cultural understanding of what tortellini (or tortelloni) means to the people of Italy (and Bologna specifically). Totally worth the tight jeans!

A typical pasta shop window in Bologna.
Tortellini galore! 

Sunday, October 20, 2013

Kahlua, by the Numbers

UPDATE!

Over at Ed & Clare's last Sunday, we did a taste test of HoyLua vs Kahlua, straight.

Overall Opinions:
  • Both are very sweet
  • Color is similar
  • Kahlua has more "Legs"
  • HoyLua has a more pronounced  coffee flavor, perhaps because of French Roast
  • Both are fine liquors
Making a new batch using Eric's "White Lightning" of 170 proof!

There are many recipes on the web for home-made Kahlua, a rum and coffee liqueur originally from Vera Cruz Mexico. The ratios for these recipes are all over the place, so I decided to take a more analytic approach.

First, we know from product labels that Kahlua was originally 53 proof but is currently down to 40. Further it has 11.2 grams of sugar in a 1 oz serving.  Many recipes use vodka for the alcohol but 80 proof vodka is 60% water, so after you account for the water, alcohol and sugar, you only have 0.4 grams left for the coffee. Using 100 proof vodka only gets you to 3.7 grams. Some recipes use instant coffee to offset this but neither sugar nor coffee dissolve very well in vodka.

The solution is to use 190 proof Everclear which leaves room to dissolve the sugar in fresh brewed coffee. We will use brown sugar as it contains molasses, like in rum, to give it a more authentic flavor. Finally, instead of using a vanilla bean and waiting a month or so, we will use vanilla extract. After all, vanilla extract is made by soaking vanilla beans in alcohol!

You will need four screw-top wine bottles for this recipe.

1 750 ml bottle 190 proof Everclear
2 lbs brown sugar
8 tsp vanilla extract
8 cups freshly brewed coffee, we used french roast

Divide the Everclear equally into the four empty wine bottles (a little over 6 fl oz each).
Add 2 tsp vanilla extract to each bottle.

Repeat the following for each bottle:
Put 8 oz of brown sugar into a 1 quart measuring cup and stir in brewed coffee up to the 18 fl oz line.
Stir until the sugar is completely dissolved then allow to cool below 140 degrees.
Pour the coffee/sugar mixture into the wine bottle, then cap and mix gently.

That's it! You now have 4 bottles of 47.5 proof Kahlua, at a cost of less than $7.50 per bottle.

For our first batch we made 2 bottles with light brown sugar and 2 with dark. Further, we tried almond extract as well as vanilla. Our preference was for the dark brown sugar and the vanilla.

Dark vs Light Brown Sugar
This is all you need


love and bacon,
pops


Thursday, May 2, 2013

Rummy Bears (because Boozey Bears didn't sound very classy)!

After a rather long absence I return with this:
a post on the wonders of gummy sweets, vodka, and rum (who would've known??)!

In this collaborative Hoyer and Swearingen Experiment (Hoyingen), 
we present you with the all-too-scientific findings of what we currently call, Rummy Bears. 

This experiment was originally hatched with a couple of simple questions:
has anyone ever tried out the Pinterest pin known as Vodka Bears
(See pin here [one of many])
and
is it any good?
(Of course, Pinterest was somehow involved.)

We, of course, decided that getting to the bottom of this quandary
required some of our own scientific exploration.

Before we began:
*We first decided to create two sample groups.
One with vodka and one with rum.
*We chose Stolichnaya Russian Vodka and Sailor Jerry's Spiced Rum.
*We also decided to take a Pinterest suggestion of using Haribo gummy bears
over any other brand. Apparently, other brands get gross.

 We couldn't find a regular sized Haribo bag
so we bought 5 or so snack sized bags.

 Kjersti, modeling with a pack of Haribo.

 Originally, we planned to put all the bears in one container
and with one single alcohol type; but the more the merrier!

Our first alcohol type, Stolichnaya Russian Vodka.

Second alcohol type, Sailor Jerry's Spiced Rum.

We let these babies sit in the refrigerator for a few hours
before testing them.

Upon testing them, we discovered two things:
*A few hours isn't nearly enough time
and
*Sailor Jerry's Spiced Rum and gummy bears are horrid together. Yuck.

After the first round of tastings,
we took the following measures before sticking our bears back in the fridge:
*We replaced Sailor Jerry's with Malibu Coconut Rum.
*We let them sit overnight and didn't try them again until the next evening.


It was worth the wait,
our second tasting the following day was a success!

Conclusions:
The final outcome, after some tweaking, was delicious!
The gummy bears perfectly soaked up their respective alcohols,
making them taste like treats rather than alcoholic booby traps.

Although, we replaced the spiced rum late in the game with the coconut rum,
it worked out well; despite the lingering spiced rum flavor.

I personally preferred the vodka bears;
but overall, it was 3 to 1 in favor of the Rummy Bears.

CHEERS!

-The Hoyingens

Monday, September 3, 2012

I never liked meatballs...

... when I was a kid.

My mom made Swedish Meatballs, whatever that means. They were dense and tough and flavorless. Basically over-cooked hamburger.

Then a while ago I picked up a Bon Appetit which featured Italian classics and I decided to give the meatball another chance. Spaghetti and meatballs, they were pretty good.

I kept experimenting and found that a panade, milk and bread, was a good method for making moist tender meatballs (it also works for meatloaf). Then with a bit more experimentation I made...

Meatballs to die for!

No, really, it's the texture that makes these so good. And there's no better way to experience this than the deli classic; Meatball Sandwiches!

Meatballs:

2 lb hamburger 80-85% lean
1 lb italian sausage
2 cups panko
1 cup milk
1 egg

Stir the milk and egg together then add to the panko, set aside. Spread the hamburger out and insert plugs of italian sausage thruout. Then add the softened panko mixture to the meat and mix with your hands thoroughly.

Shape into about 24-30 meatballs onto a baking sheet with a little olive oil. Then broil until well browned on both sides and let them cool. They will not be completely cooked, that's fine.

At this point, I bag them 6 to a bag and freeze them for Spaghetti and Meatballs or...

MEATBALL SANDWICHES!

You probably noticed that the meatballs have no aromatics or spices, except for the italian sausage. I used to use sauce from a jar, but it always tasted like a bunch of stuff that had been together for too long. So I switched to:

Simple Marinara

You can make this in any quantity, but it's always best freshly made.

Saute some chopped onion in olive oil, then add minced garlic. Sprinkle some italian seasoning onto the hot oil and let it bloom, then add canned tomato sauce, that's it. Red pepper flakes may be used to give it some kick.

Simmer for at least 30minutes. This is the base recipe, it's perfect for Meatball Sandwiches. If I want to do something more up-scale I add mushrooms, red wine, fresh basil, you get the picture.

Add the meatballs to the sauce, cover and let simmer for another 30 minutes rolling them around in the sauce a coupe of times.

On to the sandwiches!

Get some decent bread, don't waste these on hot dog buns. The picture shows mini-baguettes.

Any way, hollow out the rolls a bit to make room for the meatballs. Either toast the rolls open face or nuke them with a slice of provolone on the bottom for 10-15 seconds.

place the meatballs onto the rolls, then spoon the sauce over. Top with grated parmesan and serve with a green salad.

love and bacon,
pops


Sunday, April 1, 2012

The Asparagus Files

I used to think asparagus was a less
than likeable vegetable (one might say inedible).
This all changed last Christmas when I ventured to try asparagus. 
It was simply made with butter (ha, ha- can go wrong with butter),
salt, and pepper. Since then, I have been looking for more ways
to incorporate asparagus into my life. 
For this reason, I was excited to try:

This meal combined three of my favorite ingredients:
shrimp, gnocchi, and pesto.
It truly lived up to my expectations of how tasty it would be.

Chef's Notes:
We always find that the gnocchi is always best when it is freshly cooked. 
Our meals always seem best when we wait till the last minute
to boil and drain the gnocchi.
We recommend Parmigiano-Reggiano for this meal.

Tofu Love

If you are looking for an easy, but healthy recipe this one is for you:

Cooking Light's Udon Noodles with Sesame and Tofu

 
Chef Notes:
Pressing the tofu during the day before cooking it ensures
that it is firm and stays together when it is being pan fried.
Noodles are best when they are eaten right after being boiled and drained.
The sauce has a slight kick to it but can be lessened (or increased) by the red pepper flakes.


Tuesday, January 31, 2012

Thai Basil Chicken

This dish is served at many Thai restaurants. Here's my version. The quantity and heat of the peppers can take this from mild to wild.

6 Boneless Skinless Chicken Thighs
Canola Oil
4 Scallions Sliced
2 Serrano Peppers Diced
2 Cloves Crushed Garlic
equal amount crushed ginger
1Bunch Fresh Basil, (Thai or Holy Basil if you can find it) Chopped and coarse stems removed

Sauce
1/4C Soy Sauce
1/4C Dry Sherry
4 dashes Thai Fish Sauce
1t Corn Starch

Heat the oil and add half of the pepper, garlic and ginger. Saute the chicken for 15 minutes and then remove draining excess fat. Let cool then chop into 1/2" pieces. Return to the pan and add the remaining pepper, garlic and ginger, then the scallions. Scrape up any browned bits (or deglaze the pan with a little water) then fold in the basil. Stir the sauce and add it to the pan. Turn the heat off and stir until it thickens, Serve over rice.

love and bacon,
pops

Chicken Capellini Picante 4 Britts

This is my rendition of a dish served at the Trattoria across the street from our old office in Saratoga. We often enjoyed it for lunch.

1/2 lb Capellini or Angel Hair Pasta
3 Boneless Skinless Chicken Half-Breasts
Italian Seasoning
Olive Oil
Pepper Flakes
Coarse Sea Salt
3 Cloves Crushed Garlic
1 Bag Fresh Spinach
Parmesan Cheese

Sprinkle the Chicken with Italian Seasoning and grill over medium heat 10-12mins Do Not Overcook. Set the chicken on a cutting board and while it's cooling. Boil the pasta until al dente. Drain and drizzle with Olive Oil.

Now comes the main event. Heat 2-3 Tbsp (yes you need a lot) of Olive Oil in a pan on medium. Add the red pepper and coarse salt then the garlic (if the pan is too hot the garlic will burn). Now chop the chicken and add it to the pan. Saute a couple of minutes until the chicken is cooked thru, then toss in the pasta and then the spinach. Use a lot of spinach, when it wilts it really cooks down. Don't be afraid to add Olive Oil if necessary.

I know it's italian but serve it in rice bowls with chopsticks. Garnish with Parmesan and enjoy.

The blending technique is tricky, you have to have the heat just right. Too low and it will be soggy, too high and the pasta wil stick. Adding the spinach creates steam which also cools the pan down.

love and bacon,
pops


Ribs 4 KJ

OK, here goes. This is a variation on an article in Fine Cooking some years ago. Read it here:

FineCookingRibs

What you are doing is referred to as Memphis Style, which means a dry rub and sauce served as a condiment after the ribs come off the grill.

First, baby back ribs are best. They have just the right amount of fat.

Next, remove the membrane on the back of the ribs by sliding a knife underneath and use the BACK of the knife to separate the membrane then strip it off like peeling a label. Start at the skinny end of the rack. This will go badly the first time you try it, but eventually you'll figure it out.

The Rub: No magic here, you're basically making BBQ sauce on the meat using sugar fat and spices. If you just had the first 2 ingredients it would still make tasty ribs, so feel free to individualize/adjust after that. Also note that I don't measure anything when I cook, I just proportion from greatest to least so these are approximate.

For 1-2 racks
1/4c Paprika (the regular sweet paprika)
1/4c Brown Sugar
1T Chili Powder
1t Granulated Garlic
1t Celery Seed My special ingredient as I think this flavor goes particularly well with ribs
cayenne to taste unless Ray or Darla are there

Stir the rub with a fork to get all the lumps out of the brown sugar then sprinkle over the meat liberally on the meat side and pat down. Sprinkle lightly on the back.

A word about salt...
I don't use salt in my rubs as people's taste and tolerance vary widely. I do give a nice grind of coarse sea salt over the ribs after they're done cooking.

Cooking

It's low and slow meaning 2-4Hrs at 250-275 degrees. Pork won't get fall off the bone tender until it hits about 190.

You can do this in a BBQ or a smoker or in the oven. I think the best ribs are on a rotisserie because they self baste as the fat is rendered. A pan of water in any of these prevents overheating and drying out.

Where there's smoke...
... there's flavor. This is where the oven loses out. A handful of soaked chips on your q gives a taste that makes all the difference. Oak, Hickory, Mesquite are my first choice for ribs. Apple also works well.

love and bacon,
pops


Tuesday, January 10, 2012

Spinach me!

Trying to find a tasty new way to get those  leafy greens in?
Well, we have just the solution!
Spinach Hummus.

Spinach Hummus that Kids Will Eat from Simply Daily Recipes


Chef notes:
At the time of making this recipe,
we had a mixed green salad mix
(which included spinach) which we threw in.
This made our hummus have more flavor tones;
as well as including a variety of greens.
The only thing I might try differently in the future,
is the amount of lemon juice that was added.
Brett added a whole lemon, somewhat overwhelming the flavor
of the garbanzo beans and spinach- the primary flavors.

We paired our hummus with
Way Better Snacks Simply Beyond Black Bean
Gluten-Free Tortilla Chips
,
which we found at our local grocery store.
Good eatin'!


Wednesday, November 30, 2011

An Unusual Turkey Day Dessert

This Turkey Day holiday,
our resident chef decided to make an unusual dessert
as a thank you for a hardworking coworker friend.
The results were amazing!

The dessert you ask?

If you are into delicious Mexican style desserts
and have a definite sweet tooth to boot- this is the dessert for you!


Chef's notes:
This dessert, although delicious, is extremely sweet.
If we were to do this recipe again,
we would cut the sugar down
AT LEAST by 1/4 of what it recommends.
The topping is also very delicious and is basically
homemade whip cream rather than traditional frosting.
No other additions are necessary with this decadent treat.


Friday, October 7, 2011

Chipotle Meatballs


I was looking for a recipe for German Potato Salad, doing the Octoberfest thing Saturday, when I came across this recipe. I've never used chipotle chilis in adobo sauce before but I had some leftover hamburger and cooked rice that I needed to use up so I gave it a whirl.

Here's the link, and I stole the picture as well.


I used 1/4lb sauteed bacon in the sauce instead of in the meatballs. The chilis looked so innocent in the can that I went against my better judgement and placed 4 whole chilis in the sauce. I then used my immersion blender to puree the chilis along with the tomatos and onions then added the reserved bacon back in.

Dani said she could smell it from the driveway before she even got to the house. I had her taste it first in case it was too hot for me. She said it was pretty warm which usually means you can light a fire with it, but when I tasted it there was a deep smoky hot, not a burning hot like cayenne. A little sour cream cooled it a bit and it was awesome.

love and bacon,
pops

Tuesday, August 2, 2011

Not Another Campbell's Bean with Bacon Soup

Tired of the old Warhol-esque canned soup??
Well, no more!

Make sure to crisp the bacon.
The crunchy texture is an excellent contrast to the beans.


 The dark molasses adds a unique sweetness to the mix.


And Voila! A delicious soup that pairs perfectly
with a hot grilled cheese made with homemade pita bread.
Cheers!


Friday, July 1, 2011

Guinness + Lamb= Guinness Lamb Stew

Pictured red sauce is tomato paste.


This lamb has been dredged in flour and browned.
This flour will later act as a thickening agent for the stew.


 Simmer for longer in order for the flavors 
to blend nicely together.


If you would like your stew to be a little bit sweeter,
substitute rutabaga in place of turnips.


Bread shown in this picture
is homemade pita and goes very well
with the stew's flavors.


Notes:
Recipe calls Guinness Stout
but we used Guinness Drought
for its preferred flavor (leftovers!).
This recipe can easily be adapted for a crock pot.


Monday, June 20, 2011

Another Day Another Meal

I must admit I have a love/hate relationship with grills. I love the results when it all works but more often than not I find them lacking. I think I've used at least half a dozen different models and currently have 2 grills and a smoker in the stable.

My latest grill is a propane Master Forge model from Lowes, which satisfies one of my requirements. Grills burn up and you need an easy source for replacement parts as you burn them up. This grill has a sear burner which deals with my next complaint, not enough heat to cook a steak charred and rare (also called blue or pittsburgh on the east coast).

Well I tried it for the first time on Dad's day. I cooked one steak 5 minutes per side on the grill and obtained nice grill marks and a steak done medium-rare. The other steak went on the sear burner for just 2 minutes per side. Voila! charred and rare (you know actually raw in the center). This was the steak in the photo.

And now for the next test, rotisserie chicken. My last grill was a Nexus that had an infrared back burner that would selectively burn a chicken on the spit while leaving the bird otherwise uncooked. Here's the results using the new grill:


The bird came out evenly cooked with crispy skin in an hour. I started on high but turned it down to low after 15 minutes. The bird was left uncovered in the refrigerator for a couple of days to dry it out (from Thomas Keller's Ad Hoc) and the skin was lifted from the body to create an air pocket (from America's Test Kitchen).

I rubbed the bird with a mixture olive oil, garlic and lemon juice, then sprinkled poultry seasoning and smoked paprika as the bird turned.

love and bacon
pops

Sunday, June 19, 2011

Dad's Day Feast

It's Father's day and a chance to try out the new grill. A quick trip to the store yields New Yorks on sale, so now for the accompaniment.

I used to do rosemary crusted steaks, but on a trip to Boston some years ago, I was introduced to Chimichurri, the wonderful Argentinian parsley relish. Why not combine the two? Of course google shows its all been done before, here's my version.

Rosemary Chimichurri

1/4 cup Olive Oil
2 Tbsp Fresh Rosemary
3 cloves Minced Garlic
1/2 tsp Red Pepper Flakes
1 Tbsp Red Wine Vinegar
1 bunch Italian Parsley cull the stems
*kosher salt to taste, although I prefer to salt the meat directly

Combine first 4 ingredients in a saute pan and simmer on low for 10 minutes, then let cool. Stir in the vinegar.
In a food processor, coarse chop the parsley then drizzle the oil mixture in, while pulsing to achieve a relish like consistency.


Serve the chimichurri at room temperature with salted and peppered steaks.


love and bacon,
pops

Friday, June 10, 2011

When Shrimp Met Avocado

May's Cooking Light magazine
featured the most mouth watering picture yet,
I instantly knew we had to try it!
The recipe was like one part home (Cali)
and one part seafood heaven.
I knew that with ingredients like these
nothing but pure delight could come out of the kitchen.

 The cooked shrimp were a spectacular palate
for both the flavors of the bacon and paprika.


 All the ingredients were easy to prepare and assemble together.
The mustard lemon vinaigrette was simple to make and very flavorful.

No matter how you set up your salad,
you will get a whole lot of flavors.


Preferring a separatist approach
(this way nothing distracts from the shrimp and avocado flavors).


And a mixed approach for the flavor adventurer.


Notes:
Avocados are difficult to pick but
an excellent way to do it is to make sure
the avocado is not too soft,
a firmer avocado is preferable.
Once you get home,
place the avocado in a paper bag
on top of the fridge.
Check on it in the next couple of days.
You will know when it's ready,
when the skin has a slight give.


Monday, June 6, 2011

And No, It Wasn't Just a Sliver

We broke down and made a REAL (non low cal) dessert.
It was (of course) SO delicious!

Preeeesenting:
Alton Brown's Lemon Meringue Pie!


(Along with sugar- not pictured above)


An electric mixing utility is super useful
when making the meringue component.

Be careful when cooking the lemon filling,
as soon as it starts boiling the entire mixture
will begin to seize up.

Fresh out of the oven.

Zesty tastiness!

And again,
Alton Brown's Lemon Meringue Pie

Notes:
For further browned goodness,
make sure to add peaks in the meringue topping.
This can be done by poking it with the fork,
the meringue will
spike up as you pull away.